

Chromebooks are steadily gaining market share. With the arrival of Android apps to the platform, Chromebooks have become an ideal platform for a very large user-base, and Chrome OS is a very important piece of technology in the current consumer space.
However, if you are a Linux user, you may need many utilities and tools to get the job done. For example, I run my own servers and manage them remotely. At the same time, I also manage my Linux systems and a file server at home. I need tools.
Additionally, Chrome OS, as a result of being a Google product, has some restrictions. For example, there is no way to even download Creative Commons YouTube videos on Chromebook. What if I want to download Ubuntu or openSUSE and create a bootable USB drive? As much as Chrome OS is a Linux-based desktop, it does lack some features. So, you need what I call a “legacy” Linux desktop on your Chromebook. But wiping Chrome OS and installing a desktop Linux on it would mean losing access to millions of Android apps and games. What if you can get the best of both worlds? What if you can run a pure Linux distribution and Chrome OS, side by side, without dual booting?
Preparing your Chromebook for Crouton
Crouton is supported on a wide range of Chromebooks. I tested it on my ASUS Chromebook Flip, and it worked great. Chromebooks keep all data and files on Google servers, so you don’t have to worry about taking a backup of your files as you have to do on other operating systems. However, if you have files on a local ‘Download’ folder, then you must take a backup as the next step will wipe everything from your Chromebook. Once you have taken the backup on an external drive, it’s time to create a recovery image of your operating system to restore it if something goes wrong or if you want to go back to the stock Chromebook experience.
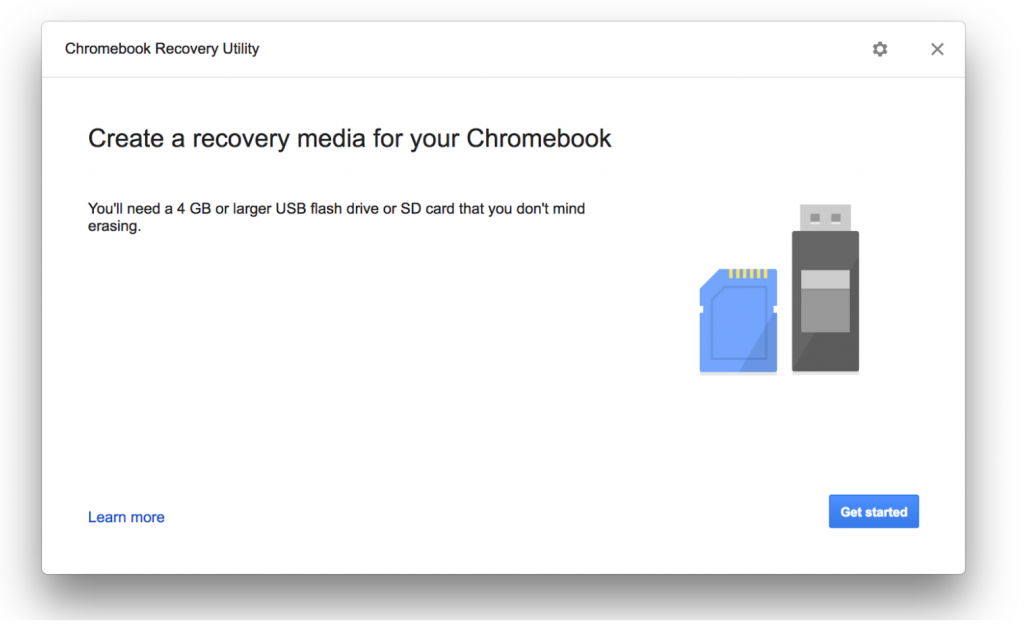
Install Chromebook recovery utility from the Chrome web store. Open the app and follow the instructions to create the recovery drive. It’s an easy three-step, click next process. All you need is working Internet and a USB drive with at least 4GB space.
Once the recovery disk is created, unplug it and proceed with the following steps. You can also create a recovery disk from Linux, macOS and Windows PCs using the Chrome web browser. Open web store in Chrome browser and install recovery tool. Once installed, follow the above procedure.
Change to developer mode
If you have the latest Chromebook, you can easily enable the developer mode by holding Esc + Refresh keys and then pushing the ‘power’ button.
It will boot into recovery mode, which will show a scary warning on the screen (this warning will appear at every reboot). Just ignore it and let Chrome OS wipe your data. The process can take up to 15 minutes, so don’t turn off your Chromebook.
Once the system has successfully booted into developer mode, at every reboot you will see the warning screen. You can either wait for a few seconds for it to automatically boot into Chrome OS, or press Ctrl+d to immediately boot into Chrome OS.
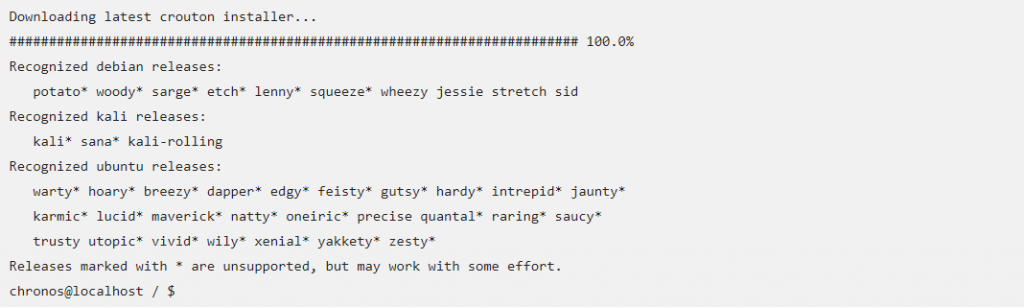
Now you have a standard Linux distribution running on Chromebook and you can install any package that you want. Bear in mind that, depending on your architecture, some packages may or may not be available because not all Linux applications are available for ARM processors.
That’s where the “best of both worlds” concept comes into play. You can simply switch back to Chrome OS and use applications like Microsoft Office, Adobe Photoshop, and thousands of games and applications that are available through Android.
At the same time, you can also access all the Linux utilities, whether it’s sshing into your server or using applications like GIMP and LibreOffice. To be honest, I do most of my consumer side work in Chrome OS; it has almost all commercial and popular apps and services. Whether I want to watch Netflix, HBO Now, Hulu, or Amazon Prime, I can do this on the same machine where I can also use core Linux utilities and manage my servers easily.